
In some cases, it may be necessary to remove an event from TAP EventPLUS - if the event has been canceled or if it was originally created in error. An event that is published or has been submitted for approval, it must follow an event deletion process for published events.
To delete a published event, event owners or co-owners must begin by requesting deletion of the event, along with a reason for the deletion. The reason can be ‘Error’ to indicate the event was created in error, or ‘Canceled’ to indicate the event was canceled.
Event deletion requests are reviewed by the appropriate Leadership. All event deletion requests must be approved before they are fully removed from the system.
Users with TAP Manager and Service Component Program Manager roles are responsible for reviewing submitted event deletion requests, and either approving or declining them. Each time an event deletion request is submitted in TAP EventPLUS, the appropriate TAP Manager and Service Component Program Manager receives a notification email informing them of the request(s) awaiting review.
This topic describes the steps required for the following:
To submit an event deletion request:
1. Navigate
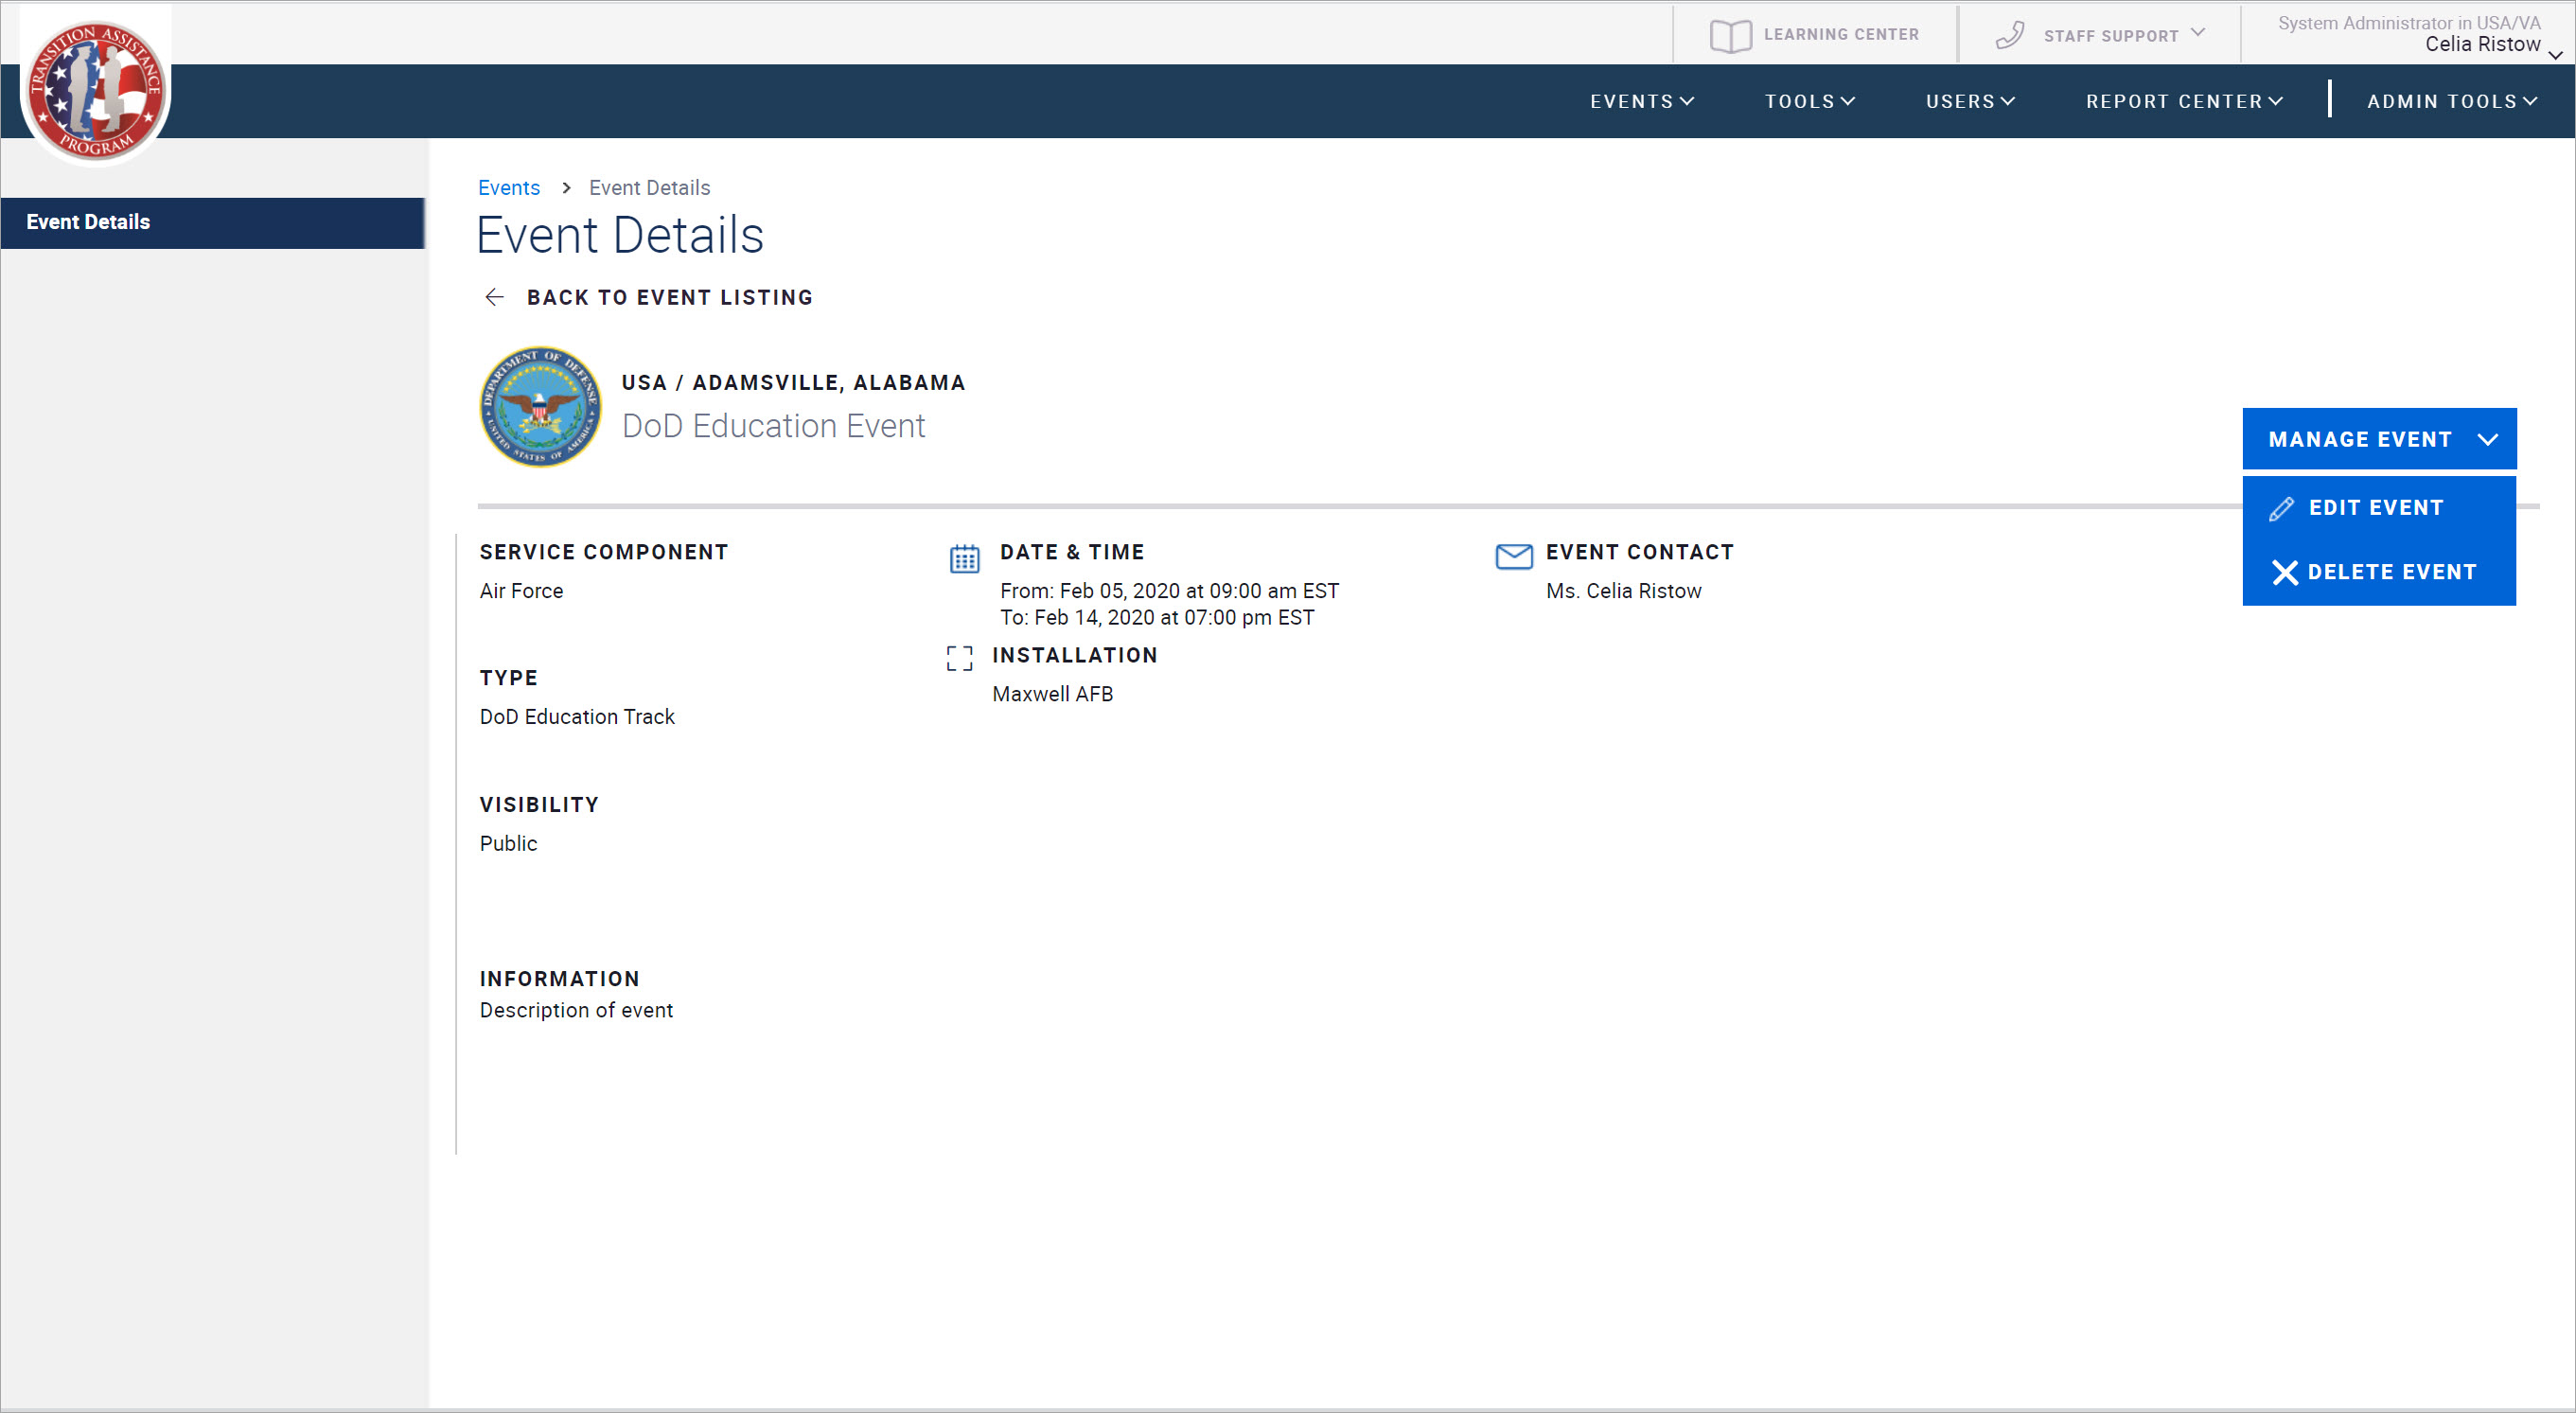
to the Event Details page.
2. On the Event Details page, click the MANAGE EVENT button, and select DELETE EVENT.
3. On the Delete Event page that appears, select one of the following radio buttons:
Error: If you are requesting deletion of the event because it was originally created in error.
Canceled: If you are requesting deletion of the event because it was canceled.
4. Enter an explanation for the deletion request in the Comments box.
5. Click the SEND EVENT DELETION REQUEST button at the bottom of the page.
6. In response to the confirmation message that appears, click CONTINUE.
EventPLUS submits your request to your Leadership for approval. Once reviewed, you will receive an email confirming whether it has been approved or declined for deletion.
Note: Once your event deletion request is approved, you will no longer have access to your event. It is recommended you pull any data you require from the event before submitting your request.
To review event deletion requests:
1. In TAP EventPLUS, hover over EVENTS, and click EVENT DELETION REQUESTS.
The Event Deletion Requests page is displayed. The Event Deletion Requests page contains four tabs listed at the top of the page. By default, the PENDING APPROVAL tab is displayed and includes a list of all pending event deletion requests.
2. Locate the deletion request from the PENDING APPROVAL tab and review the reason(s) for deletion and requestor comments in the columns provided.
3. Indicate whether you approve or decline the event deletion requests by selecting one of the following from the drop-down list:
Delete: To approve the deletion of the event. In the window displayed, type comments explaining your decision, and click the DELETE EVENT button at the bottom of the page. The event is deleted from TAP EventPLUS.
Decline: To decline deletion of the event. In the window displayed, explain the reason for your decision in the box provided, and click the DECLINE DELETION REQUEST button. The event is not deleted, and remains in TAP EventPLUS.
In both cases—whether you approve or decline deletion of the event—TAP EventPLUS notifies the requestor of the decision and displays your explanatory comments.